Screenshots of PixFiler
It's often said that a picture says more than a thousand words. Here you can see some of the main screens of PixFiler so you can get an impression of what the software looks like and how it can display your photos. However, this is by no way complete. We therefore suggest that you download our 30 day free trial and try it out yourself.
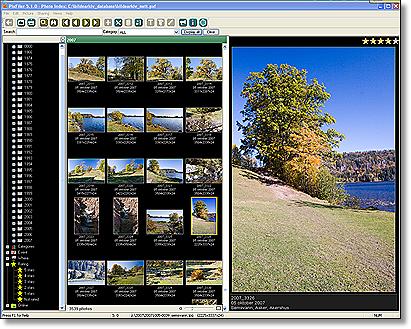
Main PixFiler Screen
This is the main PixFiler screen. Here you can see all the thumbnails. When you click on a thumbnail, that photo will be shown in a larger version in the right part of the view. Below the larger version, you'll see the annotation details. Above you can see the rating you have given that picture. The leftmost part of the view is the Navigator. Here you can choose which thumbnails to see, for example by date, place, event, or folder.
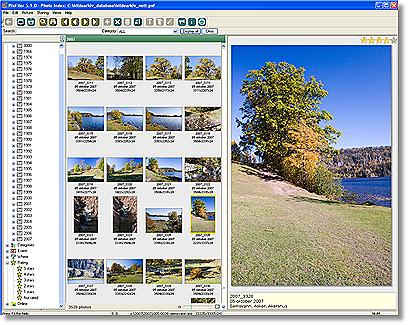
Same in white
You can choose whether you want black, white or gray background. Over the years we have found that people have quite strong opinions about white or black backgrounds so we made it possible to choose.
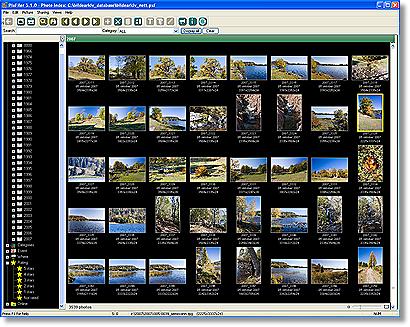
More thumbnails
Sometimes you want to see more thumbnails at the same time. Just drag the divider to the right and the larger picture will disappear and the whole screen will be for thumbnails. You can choose the size of the thumbnails by using the slider below the thumbnail view or by using the scroll wheel. You can see details about a picture in a pop-up window by letting the cursor stay on a thumbnail for a couple of seconds.
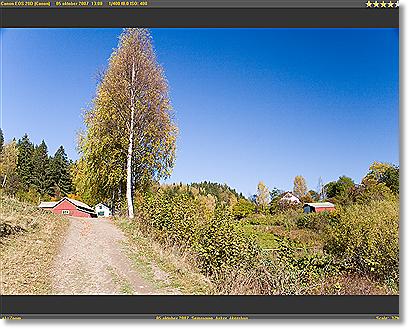
Full Screen View
By double-clicking on a thumbnail, PixFiler will switch to full screen view. Here you can see the photo in full size. You can also zoom in on details. You can also step from photo to photo and set ratings by clicking on the stars in the top right corner or just clicking the buttons 1 to 5.
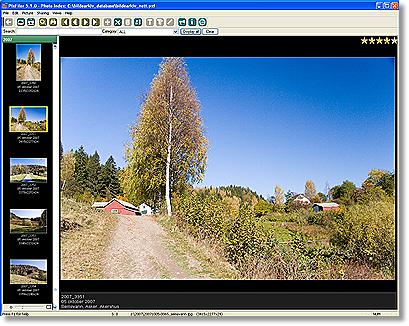
Adjust View Sizes
By dragging the thumbnail View divider left or right, you can set which part of the screen will be used for thumbnails. In this example only one column of thumbnails are shown and the large picture is pretty large. Very usable for setting ratings.
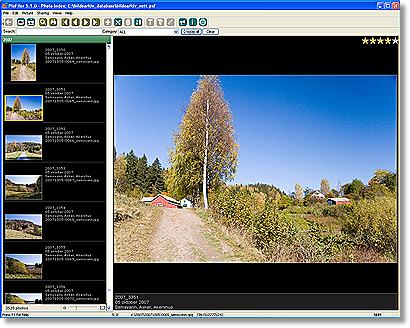
Thumbnails with annotations
You can also show one column of thumbnails with annotations to the right of the thumbnails. Very effective when adding annotations to pictures.
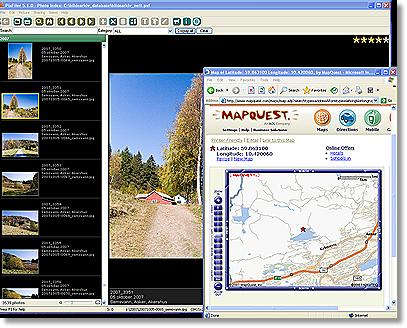
See location on a map
If your digital photos are Geotagged, you can show the location on a map with a click on a button. Geotagged means that the latitude and longitude where the photo was taken is stored in the EXIF information of the image file. Some cameras do this if you connect a GPS Receiver to the camera or you can use software to to match the photo to a track file from a GPS Receiver. You can for example use PixGPS.
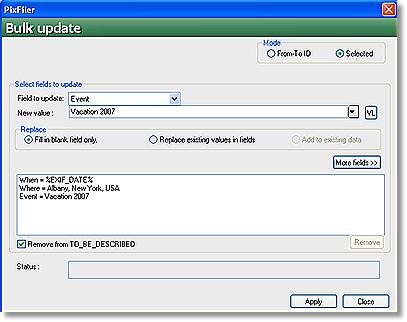
Updating Annotations of many photos
The Bulk Update Screen is one of the most powerful features of PixFiler. With this utility you can update the annotations for hundreds of photos in just seconds. It even allows you to populate the picture descriptions with data from EXIF or IPTC meta data. For example, if you put location information into IPTC by the use of a preprocessing program, for example Adobe Lightroom, you can extract this information into the Place data field in PixFiler.